Recipe

Banana Tahini Bread

Banana bread just hits the spot sometimes, right? Right.

Nut Free Banana Tahini Bread

Nut Free Banana Tahini Bread

It’s easy to understand why banana bread is so universally loved; When done right, the texture has an inviting richness, with a smooth banana taste throughout. It begs you to take the next bite. The tahini in this recipe adds an earthy depth to the banana bread, which I absolutely adore. It’s hearty. It’s flavorful. It’s well balanced on the sweet/unsweet scale. It’s almost confusing… you’ll want to savor a slice of it, and yet shove it in your mouth as fast as possible. Yeah, it is that good.
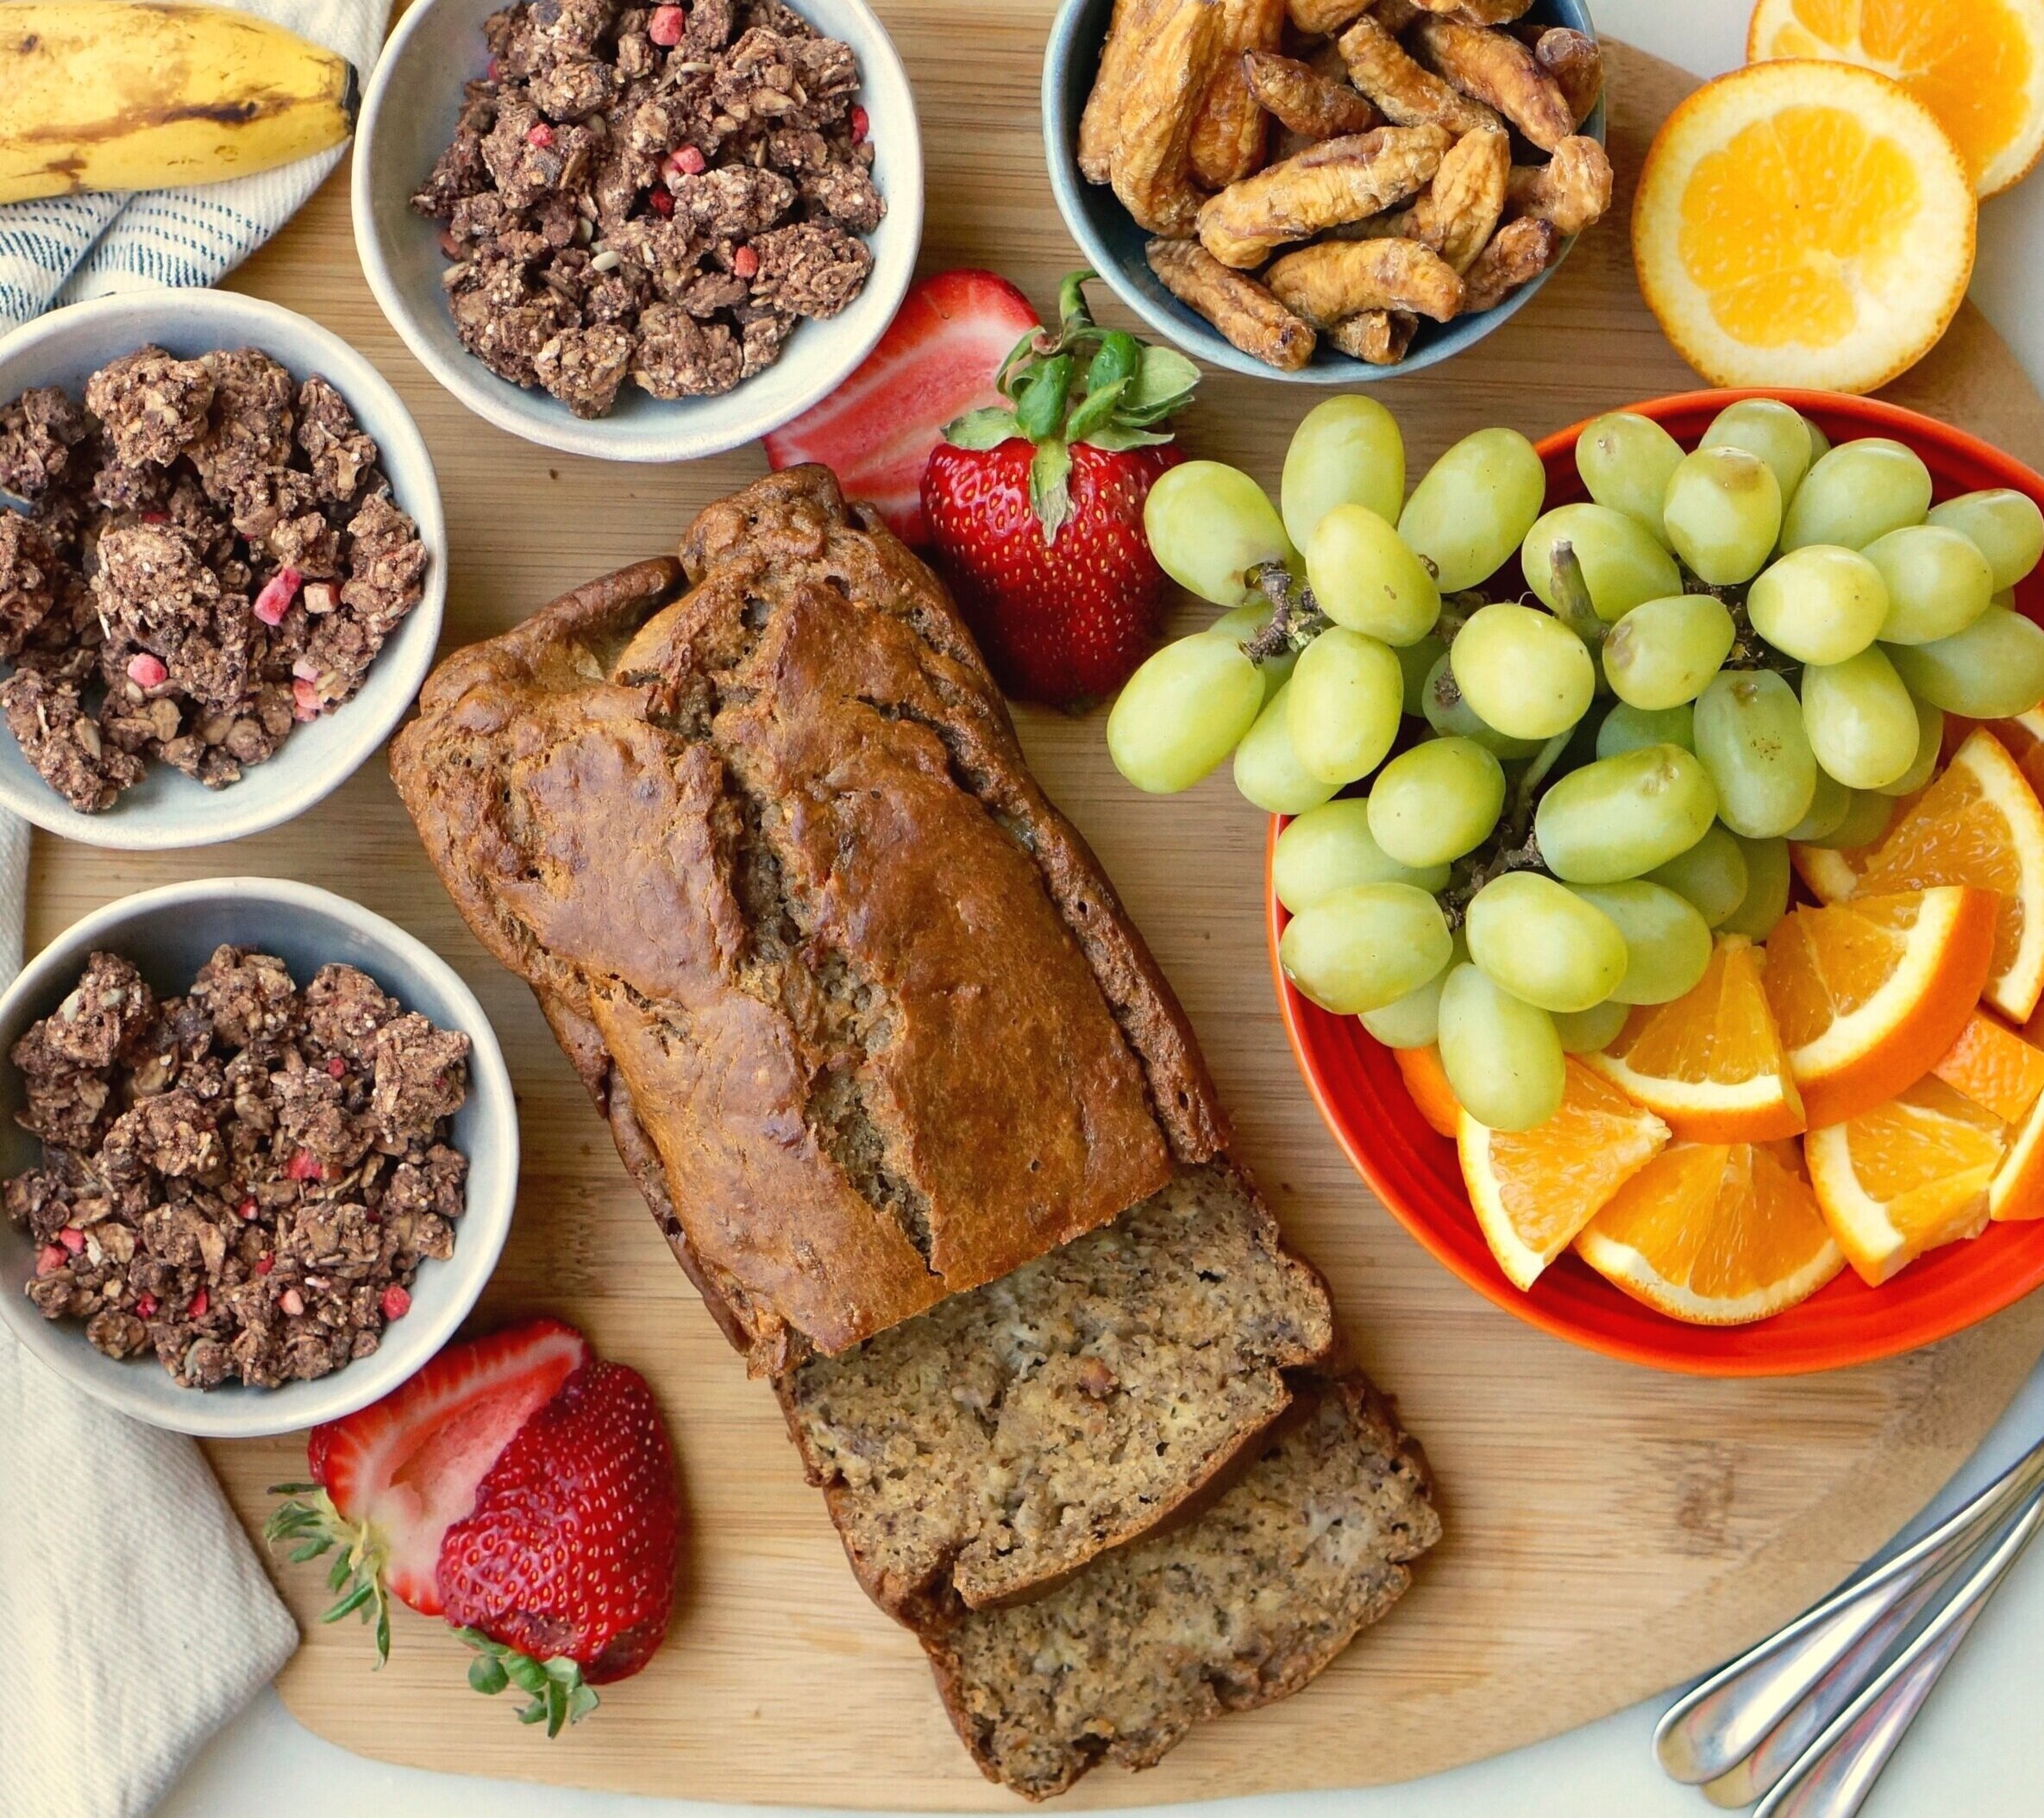
banana tahini bread

banana tahini bread

I cut myself a slice yesterday, toasted it and smeared on some butter and flake salt. The melty chocolate chips with the salted butter was a revelation! Give this one a try. You won’t regret it. Most recently I’ve been making this with fairly bruised, but not super ripe bananas and I might prefer it! The result is a slightly less sweet but equally delicious loaf. This recipe is dairy free and nut free, and can easily be made vegan by substituting flax eggs for eggs. It packs up beautifully in a lunchbox, and you can serve this any time of day.

Banana Tahini Bread ingredients

I’ve made this multiple times, both with and without chocolate chips, and no surprise, my kids usually vote to include the chocolate chips.

If you make this, tag @lalalunchbox #lalalunchbox so that I can marvel at its beauty!

mashed banana

mashed banana

Banana Tahini Bread

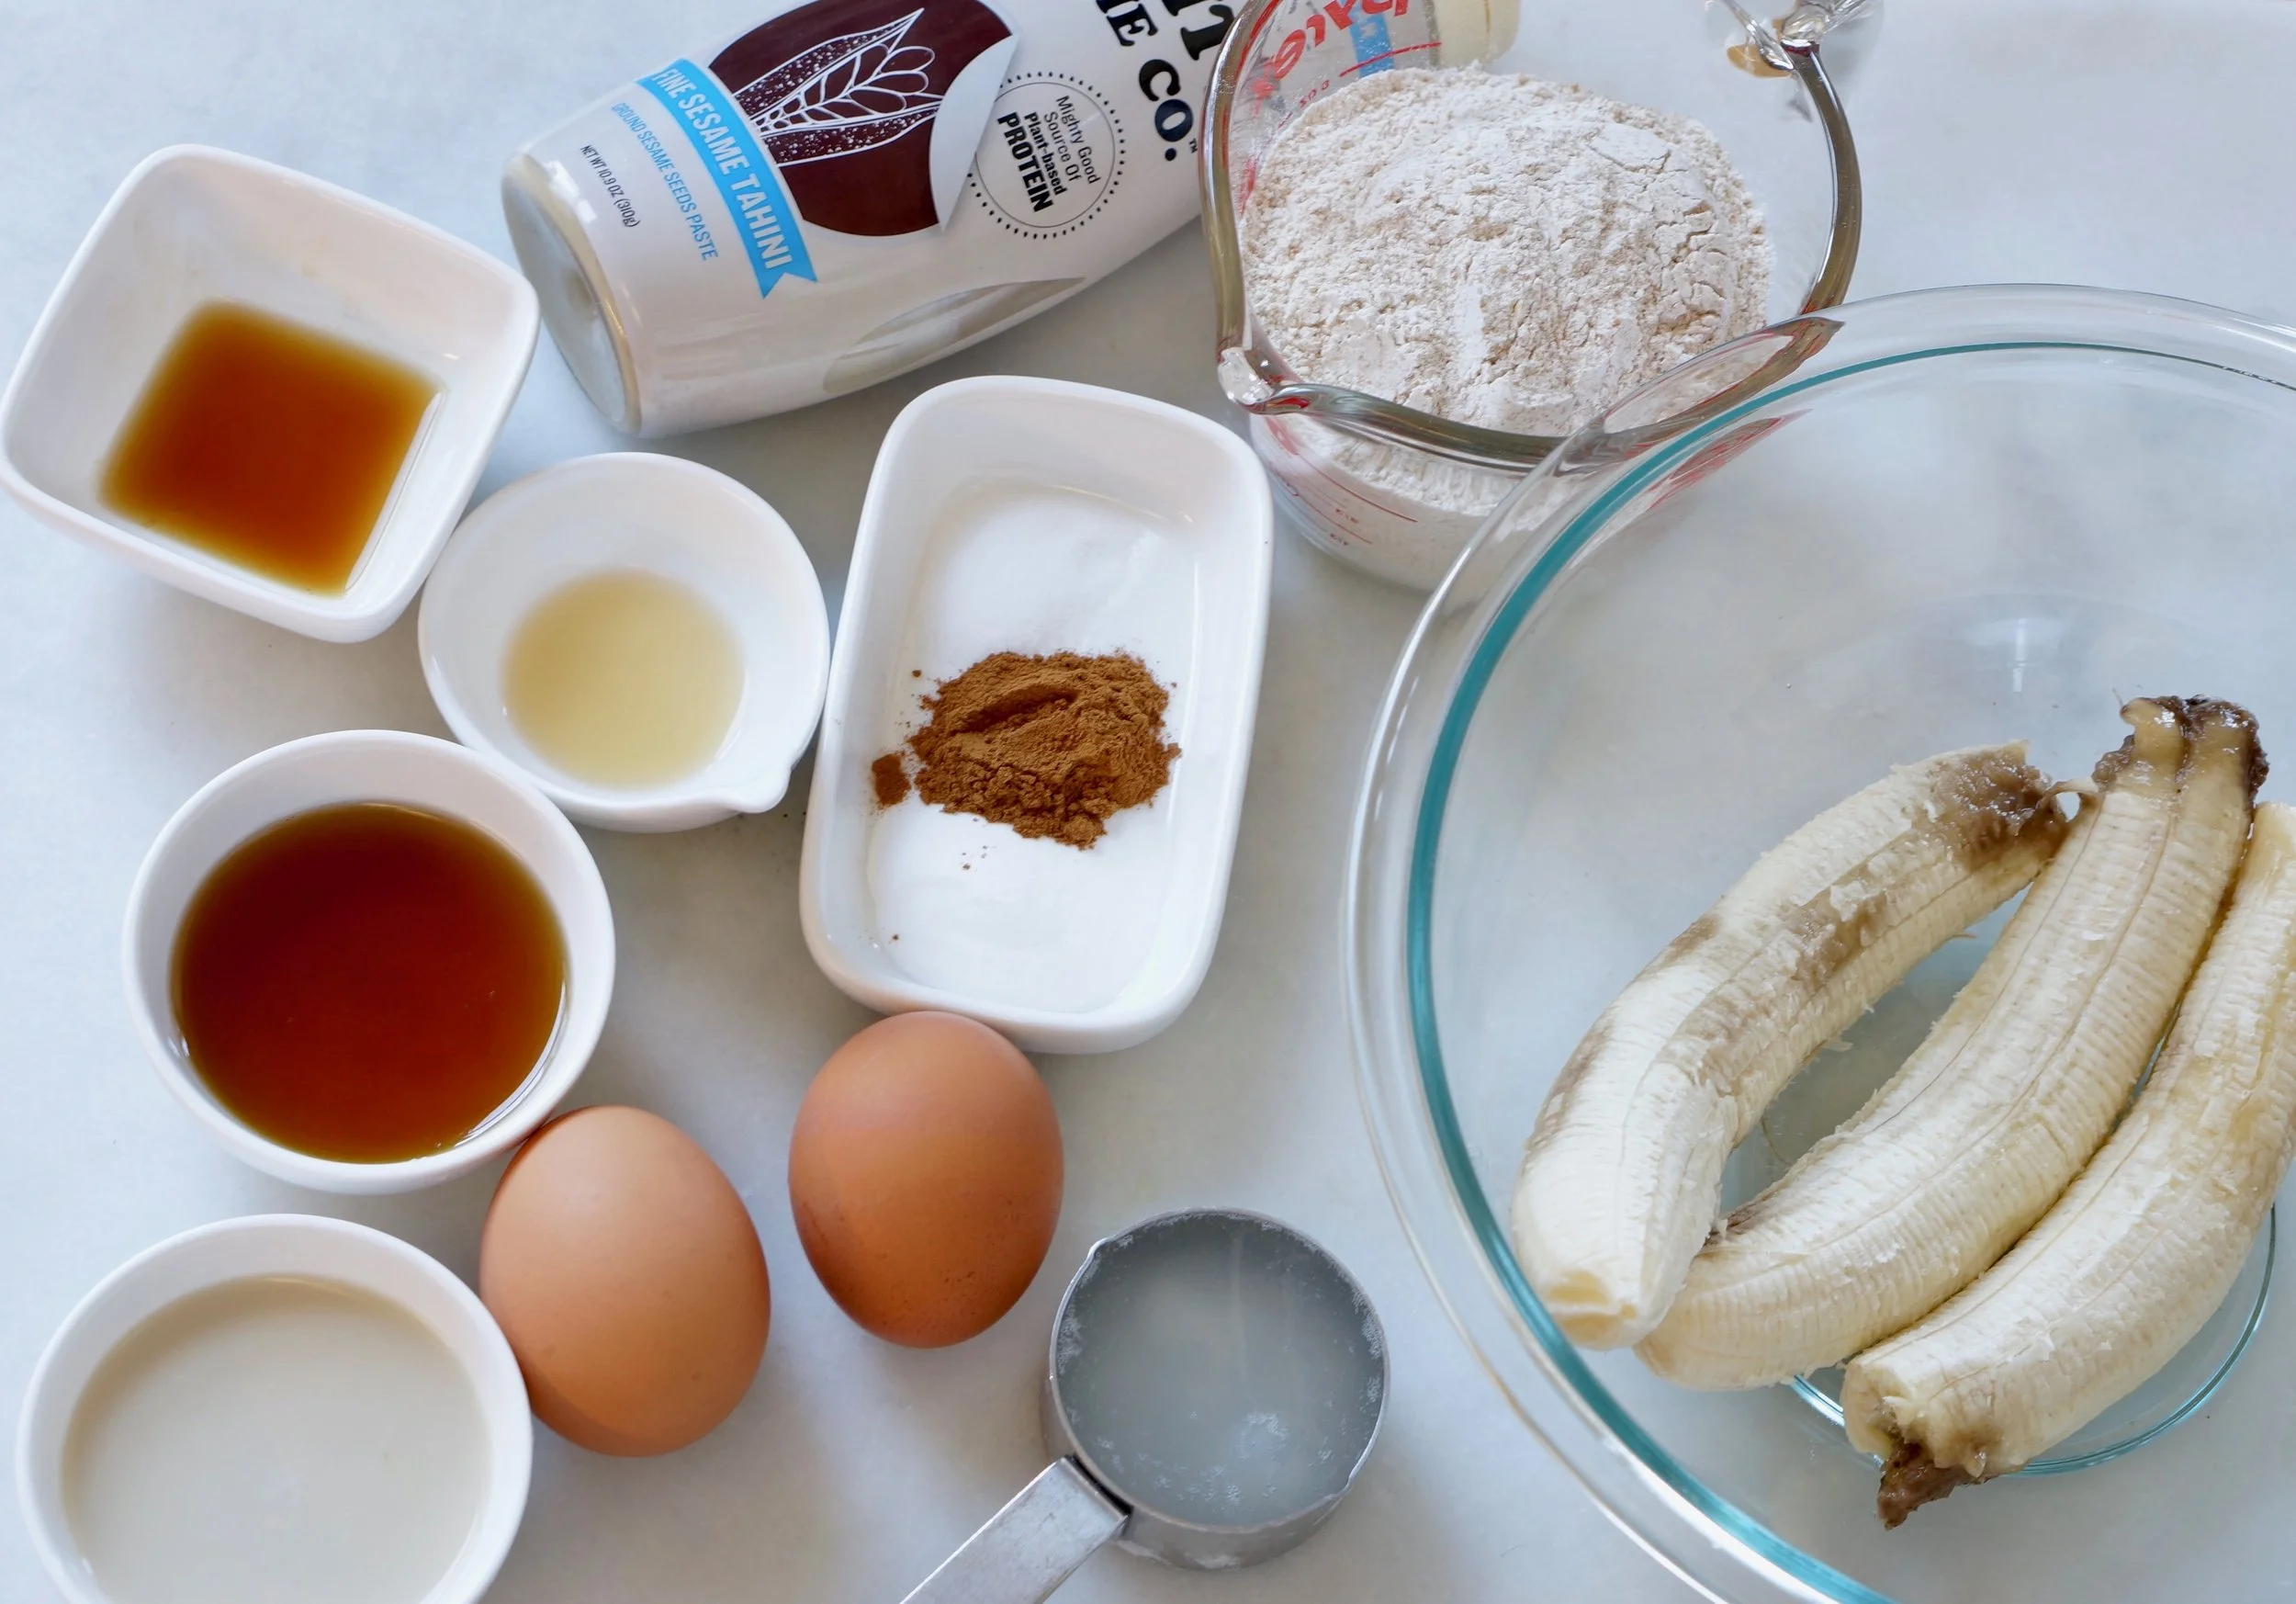
3 ripe bananas + 1 banana for the top (optional)
1/4 cup tahini, well stirred 
1/4 cup coconut oil
3 tablespoons oat milk (you can use any milk here)
3 tablespoons maple syrup
2 large eggs
2 teaspoons vanilla extract
1/2 teaspoon apple cider vinegar 
1 teaspoon cinnamon 
1/2 teaspoon salt
1 teaspoon baking soda
1 1/4 cups whole wheat flour 
1/2 cup chocolate chips (optional) 

  • Preheat the oven to 350 F and grease a loaf pan with neutral oil.

  • Mash 3 very ripe bananas against the side of a large bowl. Add the wet ingredients to the bowl: tahini, coconut oil, oat milk, maple syrup, eggs, vanilla extract and apple cider vinegar.

  • Mix thoroughly. I always make sure to leave some lumps of banana, because that’s how I prefer it, but you can use a mixer if you prefer a smoother textured bread.

  • Add the cinnamon, salt and baking soda and stir gently.

  • Slowly add the flour, and continue to stir gently until it is fully combined.

  • Add the optional chocolate chips and give it one final mix.

  • Pour into your prepared loaf pan.

  • Slice the 4th banana in half lengthwise. Place each half on the top of the bread before baking.

  • Bake for 50-55 minutes, or until a tester comes out clean.

*to make this recipe vegan and egg free, replace the two eggs with 2 tablespoons of flax meal mixed thoroughly with 6 tablespoons of water. Let that sit for at least 5 minutes before adding to the batter.

*to make these into muffins, simply adjust the time. Bake for 20-25 minutes for regular sized muffins. To make these into mini muffins, bake for 12-16 minutes.

Banana Tahini Bread ready to bake

Blueberry Chocolate Cups

Move over nut butters and raspberry, there’s a new Queen in town!

Blueberry Chocolate Cups

Blueberries and chocolate go together beautifully, and it’s time the two share the spotlight with these delicious mini Blueberry Chocolate Cups! With just 7 ingredients and under 30 minutes to make, gather the kids into the kitchen and watch how quickly the magic of this easy recipe comes together!

Blueberry Chocolate Cup

Blueberry Chocolate Cup

I love these because they’re naturally sweet, quick to make and perfect for little hands. I designed them to be a frozen treat, but you can keep them in the fridge if you prefer. The chia seeds make the inside a bit jammy, and because dates don’t harden when they freeze, you’ll always have a soft middle on these cups. Did I mention that there’s no added sugar? Score!

I’ve made this recipe with dark chocolate, milk chocolate and white chocolate. My personal preference is dark chocolate, but you’ll have to try them all to see what works best for you!

If you make these and post them, don’t forget to tag me on Instagram and use hashtag #lalalunchbox!

Blueberry Chocolate Cup

Blueberry Chocolate Cup

Blueberry Chocolate Cups

Ingredients

2 cups chocolate chips

1 tablespoon + 1/2 teaspoon neutral oil, divided

1 6 ounce container of blueberries

4 medjool dates

1/2 teaspoon vanilla extract

Pinch of salt

1 tablespoon chia

Flake salt for the top (optional)


Method

Melt the chocolate chips over a double boiler with 1 tablespoon neutral oil and let it cool for 5 minutes.

Line a mini muffin tin with liners and place a small amount of chocolate in the bottom of each. This will be the bottom of the chocolate cups. Place in the freezer while you complete the next step.  

Soak the dates in warm water for 5 minutes. Remove them from the water, cut them into chunks and add to a food processor.

Add blueberries to the food processor and blend together until the large chunks have become small. Add 1/2 teaspoon neutral oil, vanilla and salt and process again. 

Place contents into a bowl and add chia seeds. Stir and let that rest for at least 5 minutes. 

Take the muffin tin out of the freezer. The chocolate should be relatively hard. Spoon some of the blueberry date mixture into each cup and top with remaining melted chocolate. Sprinkle with flake salt (optional). Place in the freezer again to set. 

Store in an airtight container in the freezer for up to 2 months. Because dates don’t freeze, the inside texture will remain soft. Makes 15 mini cups. If you’d like to keep it at 12, use the leftover blueberry date sauce on sandwiches. 

Blueberry Chocolate Cups

Blueberry Chocolate Cups

Strawberry Smoothie Snack - 3 Ways

These days, I’m focused on meals and snacks that are easy, delicious and budget friendly. This Strawberry Smoothie trio accomplishes that and more… it’s also fun for the kids and takes very little time to make. I’ll take a win wherever I can these days.

One smoothie, three ways

One smoothie, three ways

This recipe relies on frozen strawberries, making it budget and season-friendly. Don’t like strawberries? You can use any frozen fruit here. Use it to make 3 different snacks for your family:

1. Use some for mini smoothies

2. Use some as a dip for fruit

3. Use the rest as a coating for frozen bananas.

Three snack ideas all from one smoothie! All you need are 5 ingredients, a blender and some fruit.

Strawberry Smoothie ingredients

Strawberry Smoothie ingredients

We found some freeze dried strawberries in the pantry and the kids sprinkled them on with great delight. Crushed graham crackers, shredded coconut, sprinkles, cinnamon - those all work here too. The possibilities are endless, and that’s part of the charm of this snack idea. If you make these, tag me!

Strawberry Smoothie Snack 3 ways

STRAWBERRY SMOOTHIE SNACK
15 frozen strawberries
1 cup Greek yogurt or Skyr
1 1/2 tablespoons maple syrup 
1 teaspoon vanilla
Fresh mint (optional) 

For frozen banana bites, you’ll need 1-2 bananas, peeled and cut into rounds + 1/4 cup toppings. Dip banana rounds into smoothie, add toppings, place on parchment and freeze.

For fruit dip, you’ll need any fruit (we used 2 sliced apples)

Blend all smoothie ingredients until creamy. Pour half into small cups for mini smoothies. Use 1/4 for dipping bananas and the rest as a dip for fruit.

Note: I’ve seen people do something similar and adding nut butter or seed butter. I’ve tried that with my crew, but they didn’t like the taste.

Easy, Homemade Falafel

falafel

All hail the mighty falafel!

Crispy on the outside, tender on the inside and bursting with zingy flavors, falafel is something that I can eat on repeat. Chickpeas, parsley and cilantro are a stellar combination, and when you add spices and garlic, it’s heavenly. Seriously, what’s not to love about this Middle Eastern staple? Budget-friendly, delicious, filling — falafel hits all the notes!

While in Israel this summer, I had falafel every single day. Pretty sure that eating deep fried anything is not sustainable in the long term, but wow did it make me happy! You can use my recipe below to pan fry or air fry falafel; no deep frying necessary. I’ve tried these baked, but I find them too dry, so there are no baking instructions included.

falafel platter

The key to great falafel - as I discovered in my recipe testing extravaganza - is to use raw chickpeas from dried beans that have soaked at least 12 hours. I’ve soaked them for fewer hours, and the recipe works, but I find them tastier when they’re soaked longer. This recipe is perfect for family dinner, lunchbox packing, entertaining, and for feeding folks who are vegan, dairy free and nut free.

I tried making falafel from canned beans and while I really wanted it to work, the texture was off. To me, falafel should have a slightly grainy texture, and that wasn’t coming through with canned beans. Dried, uncooked beans have the starchy quality that helps to hold the shape of the balls.

Falafel ingredients

While falafel are tastiest when hot and freshly cooked, I pack these in lunchboxes for my kids and eat them cold myself. My preference is to eat them with tahini mixed with water, lemon juice, garlic and salt, tucked inside of a pita with pickled red onion, hot sauce, lettuce and tomato. That said, I’ve been known to eat them happily with just tahini sauce and pita or lettuce. Anything goes! If you make this recipe, let me know by tagging me on Instagram!

Falafel

1 cup dried chickpeas (soaked at least 12 hours)
2 cloves garlic, roughly chopped
1 teaspoon cumin
1 teaspoon salt
1/2 teaspoon dried coriander
1/4 teaspoon cardamom
3/4 cup chopped cilantro
3/4 cup chopped parsley
1/2 teaspoon lemon zest
2 tablespoons lemon juice
1 tablespoon water
1/2 teaspoon baking powder
1 1/2 tablespoons flour
Neutral oil for pan frying or for brushing on top in the airfryer

Method

falafel ingredients

Place the dried chickpeas in a bowl and cover with water. Let soak for at least 12 hours. If you soak for longer than 12 hours, replace the water. The chickpeas will have grown substantially.
Place chickpeas into a food processor and pulse until roughly chopped, taking care not to over process.

Add the garlic and spices and pulse again.

falafel recipe

Next, add the cilantro and parsley. The mixture will have a lovely green color when pulsed.

Scrape down the sides and add the lemon zest, lemon juice, water and baking powder and pulse again.

Finally, add the flour and combine using a spatula.

Let this mixture rest in the refrigerator for at least 30 minutes.

Form into 2 inch balls and place on a parchment lined baking sheet.

To air fry: place in the air fryer at 360 F for 15 minutes.
To pan fry: heat neutral oil (I used avocado oil) in a dutch oven on medium high heat. When the oil is hot, place falafel in and pan fry (turning occasionally) until golden brown all around. Cooking time is approximately 6-8 minutes per batch, but time may vary according to the size of the balls. If the falafel are burning, turn the heat down.

Makes approximately 20 balls.

Ready to make falafel

Ready to make falafel

Frankly, I prefer these pan fried to air fried, but I realize that air fried makes them healthier. Still, these are simply chickpeas, herbs and spices, so either way I feel good about what I’m eating.

falafel lunchbox

falafel lunchbox

S'mores Brownies

It’s peak S’mores Season now but with this S’mores Brownie recipe, you can channel that campfire beachy feeling all year round! I’ve tinkered with this recipe so many times, and my kids have been bombarded with various s’mores brownies all summer. No surprise, this makes them ridiculously happy.

S'mores Brownies easy recipe

I’ve made this with marshmallows, with store bought fluff and homemade fluff and I have to be honest, the homemade fluff is my favorite. The fluff recipe I followed is from The Kitchn and while I’ve literally never purchased or cooked anything with corn syrup before, it was worth it to make this fluff myself. Once I bought that and a candy thermometer, the fluff recipe took 20 minutes from start to finish.

Homemade marshmallow fluff

Homemade marshmallow fluff

Once the fluff was made, I went to work on the brownies. The base of the brownie recipe is one that I can make in my sleep at this point. It’s a tried and true favorite around here. To assemble the S’mores Brownies, I add half the batter to the bottom of a lined 8x8 pan, add a layer of graham crackers and top those with the remainder of the batter. The batter is thick, so using your fingertips to spread the batter on top of the graham cracker layer is best. (see the full recipe below)

Setting up s'mores brownies

Once you’ve spread that evenly, it’s time to add the marshmallow fluff. I used just under 1 cup of fluff in each batch, but you can use more or less depending on how “fluffy” you like your s’mores. I like to sprinkle the top with graham cracker crumbs for two reasons: it makes the graham cracker flavor come through more and it makes these easier for my kids to hold.

Another alternative is to swirl in the fluff with the top layer of brownie batter. Both methods are equally delicious!

S’mores Brownie with swirled fluff

S’mores Brownie with swirled fluff

Once these are baked, let them cool completely before cutting them with a super sharp knife. I prefer to serve these in small sizes, so an 8x8 pan makes 25 brownies for us.

s'mores brownies

S’mores Brownies

  • 10 tablespoons unsalted butter (room temperature)

  • 1 cup granulated sugar

  • 3/4 cup unsweetened cocoa powder (natural or Dutch-process)

  • heaping 1/4 teaspoon flaked salt

  • 1 teaspoon pure vanilla extract

  • 2 large eggs

  • 1/2 cup ap flour (sub with oat flour to make gluten free)

  • 6 full graham crackers, divided

  • 1 cup marshmallow fluff (I used this recipe but you can purchase this already made)

Preheat the oven to 350°F. Line the bottom and sides of an 8×8-inch square baking pan with parchment paper.

Combine the butter and sugar in a large bowl. Add cocoa powder and salt and stir until all lumps are gone. Stir in vanilla, eggs and flour and mix with a wooden spoon until the batter is smooth and thick. Spread half of the batter into the pan. 

Add one layer of graham crackers on top of the batter. This will use 4 1/2 graham cracker sheets. Crumble the remaining 1 1/2 graham crackers into a small bowl and save for later.

Add the remainder of the batter to the top of the graham crackers and use your hands or the back of a spoon to spread evenly on top.

Top with marshmallow fluff and finally graham cracker crumbs.

Bake for approximately 28-33 minutes or until the brownies have set. Let cool completely on a rack. Cut into 25 squares and watch them disappear. 

If you simply can’t decide between S’mores Brownies and traditional s’mores, put together a platter! If you make these and post them on social media, don’t forget to tag @lalalunchbox and #lalalunchbox

S’mores Board

S’mores Board